


 Gillian Griffith
Preparing your House for Joint Replacement Recovery: 7 Must-Follow Steps
When it comes to surgery, we often spend so much time worrying about the procedure itself that we neglect to prepare for the recovery period. A key part of this often-overlooked piece of the pie? Preparing your living quarters. Particularly for orthopedic patients, making sure your house is safe for the state you return home in is imperative to a seamless, stress-free bounce-back. Today, then, we’re breaking down seven steps for preparing your house for joint replacement recovery. Read on for our top tips!
1. Know your recovery timeline.
A key part of preparing your house for joint replacement is having a solid idea of your recovery timeline. Knowing how long you’ll be immobile will help you understand just how long you’ll have to live with a rearranged home, how long you may need to keep pets with a sitter, how long you may need to rent certain pieces of furniture for, etc.
While joint-replacement recovery length will vary from patient to patient, a general rule of thumb is that you can typically get back to daily activities (driving, light walking, etc.) within 6 weeks—while you’ll have to wait 12 weeks to get back to highly active activities (long walks, cycling, golfing, etc.). Climbing stairs may fall in between the two time periods (6-12 weeks)—so, if you have a two-story home, make sure you talk to your physician beforehand to find out how long you’ll have to wait before you can begin safely climbing your household stairs on your own.

2. Have imperative items at your fingertips.
Before you begin preparing your house for joint replacement, sit down and make a list of everything you’ll need within reaching distance. Having items in a nearby room doesn’t exactly cut it, as getting up and down after orthopedic surgery can feel like an insurmountable task. Instead, you’ll want to keep everything you’ll need on a regular basis within reaching distance of your main recovery area. Keeping these items in a tote bag or basket with handles is a great way to ensure you can easily reach down and bring the items to you. Below are just a few items you may want to have nearby:
- Pain medications or other medicine
- Water, recovery drinks, snacks (keeping a cooler nearby is a great solution)
- Extra pillows & blankets
- Television remote
- Tablet or laptop (and charger)
- Phone charger
- Activities to keep you busy (adult coloring books, sketch pads, crosswords, etc.)
- Books and magazines
- Dressings/bandages
- Extra set of pajamas
- Sweater or hoodie
- Glasses
- Tissues
- TV tray

3. Consider your recovery tools.
Something worth thinking about when preparing your house for joint replacement is the recovery tools you’ll have by your side. Ask your doctor in advance what items you’ll be given to recover. If you’re having a knee replacement, you may be given an ice-therapy unit (this is a cooler that pumps cold water through a connected knee brace). Ice therapy units typically need to be plugged in, which is something to consider when setting up your recovery area/sleeping situation (you’ll want to be near a wall outlet and/or have an extension cord that can reach you without becoming a tripping hazard).
You may be given ice-packs to recover, so make sure you have a high-quality cooler with back-up packs nearby. If you’ll be given crutches, make sure you clear a safe area to store them (simply placing them on the floor by your couch or bed could create a tripping hazard). If you’ll be given a walker, make sure you’ve cleared areas that are wide enough for the walker to fit through.

4. Choose your main recovery area.
Once you have a good idea of the items you’ll need nearby and the recovery tools you may be given, you can officially choose your main recovery area. This is the area where you’ll spend your days and maybe even sleep through the night if you’re not feeling up to moving to your bedroom at night. If your bedroom is on the second floor of your home (or in a basement), make sure you set up temporary sleeping quarters on the main level of your home. It’s also extremely important to consider the two main areas you’ll need access to—a bathroom and the kitchen—when selecting your main recovery area.
5. Test out your sleeping area.
We highly recommend trying out your sleeping set up before you go under the knife so that you can make any necessary adjustments to ensure it’s as comfortable as possible. You may realize that you’re right under a vent and aren’t comfortable with the draft. Or, maybe you need to remove some couch cushions to make the setup more suitable. The last thing you want to do is suffer an additional injury (i.e. a stiff back or tweaked neck) due to a bad sleeping setup.
Even if you’re planning on sleeping in the same place you normally do, it’s important to consider any minor adjustments you might need to make: depending on your specific type of surgery, you may want to have extra pillows nearby (to elevate the leg that was operated on, or to help you sleep sitting up, for example); or, maybe you need to switch the side of the bed you normally sleep on to avoid tripping hazards or to gain easier access to the bathroom.

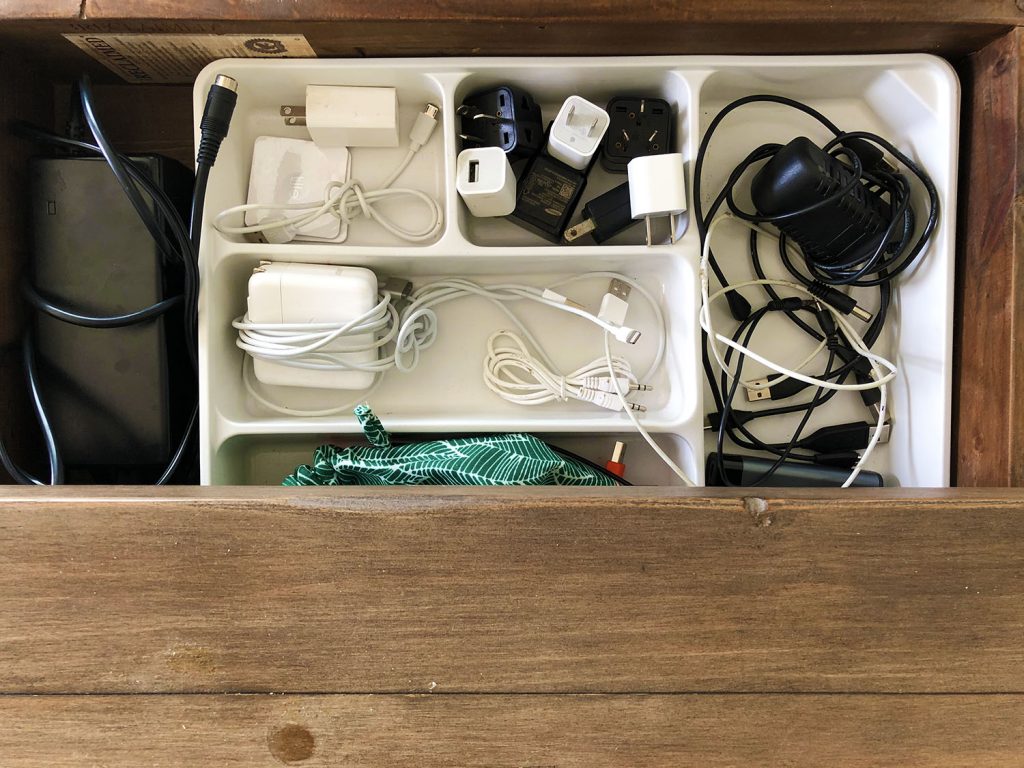
6. Remove trip hazards.
Think through your movement—how you’ll get to the bathroom from your main recovery area, how you’ll get to the kitchen, etc.—and then take some time to remove all potential trip hazards in your path. Think about power cords, rugs, decor items, etc. Pets can also be a major trip hazard after surgery, so you may need to make plans to keep them restricted from your recovery area—or, if they’re particularly rambunctious, consider having a family member or friend take care of them for those first few days after surgery when you’re particularly vulnerable.
7. Rearrange your kitchen and bathroom.
If you have items in high cupboards that require you stand on tip-toes or in low cupboards that require you bend more than 90 degrees, it’s important to place these out on the countertop where you can easily access them without injuring yourself or compromising your recovery. Talk to your physician beforehand about bathroom hazards—as the bathroom can be one of the trickiest places to navigate when you’re immobile. A shower seat, a raised toilet seat, and a long-handled sponge are just a few of the items you may need to purchase.
For more great recovery tips, check out the rest of our blog! And don’t hesitate to reach out to us with any questions.